How to Choose Custom Enamel Pins for Your Brand
Size, coloring process, plating and attachment — the four decisions that shape a custom enamel pin.
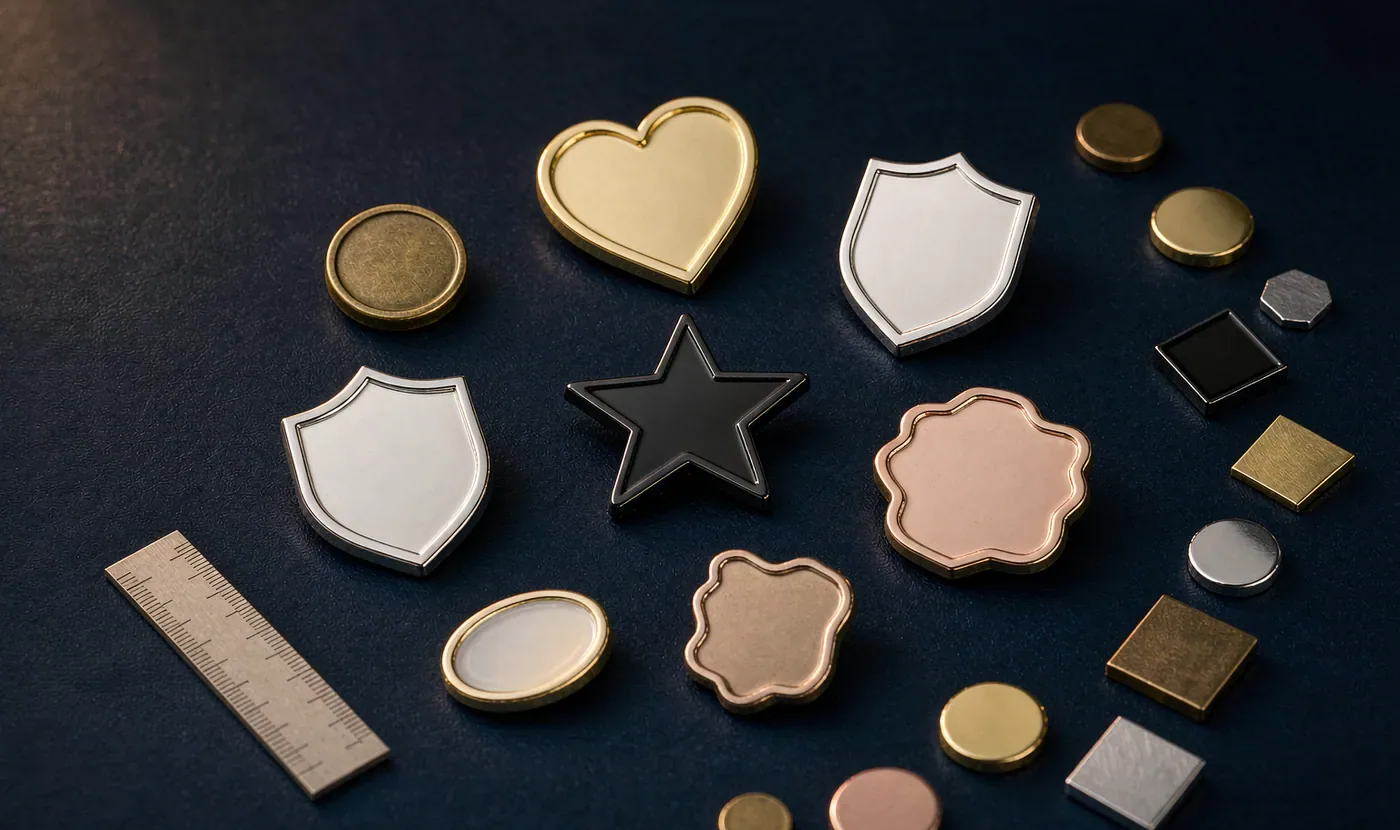
Enamel pins look simple, but four decisions determine how the finished pin looks, feels and costs. Make them deliberately and the quoting process becomes fast and accurate.
1. Size and Shape
Most pins run between 20 mm and 40 mm. Larger pins show more artwork detail but cost more per unit; smaller pins hide fine text. As a rule of thumb, keep text at least 1 mm tall at final size, and enamel lines around 0.2 mm wide minimum.
2. Coloring Process: Soft vs Hard Enamel
Soft enamel leaves recessed color areas you can feel with a fingernail — a dimensional, textured look. Hard enamel is polished flush with the metal lines, giving a smooth, jewelry-like surface. Soft enamel is usually cheaper; hard enamel looks more premium. Printed color is a third option for gradients and photographic detail.
3. Plating
Gold and silver look classic; antique finishes suit vintage designs; black nickel suits dark, modern artwork. The plating also affects how enamel colors read — bright plating brightens them, antique plating darkens them. Ask to see your colors on the chosen plating in the proof.
4. Attachment and Packaging
Butterfly clutches are standard; rubber clutches feel more premium; magnets suit non-apparel use. For retail or gifting, add card backing or a small box — it changes perceived value more than it changes cost.
How This Affects Your Quote
Once these four decisions are fixed, a supplier can quote precisely. Vague briefs ("a nice pin, maybe 1000 pieces") force suppliers to quote a guess. Send size, process, plating, attachment and quantity, and you will get comparable numbers.
Related Products
Ready to Start Your Custom Project?
Send us your product idea, reference artwork and estimated quantity. We will confirm the specifications and provide a quotation.